Shaft-mounted gear motor with a hollow shaft: how to read the nameplate and choose a replacement (example: Siemens Motox)
Files to download
One misread letter on the nameplate is enough to pick a drive that fits mechanically but behaves differently from its predecessor. See how to read a gear motor nameplate using a Siemens Motox example.
Need a motor or servo drive repaired? Contact us! At Enetiv we repair such devices and give our own warranty on repairs.
Shaft-mounted gear motor with a hollow shaft: how to read the nameplate and choose a replacement (example: Siemens Motox)
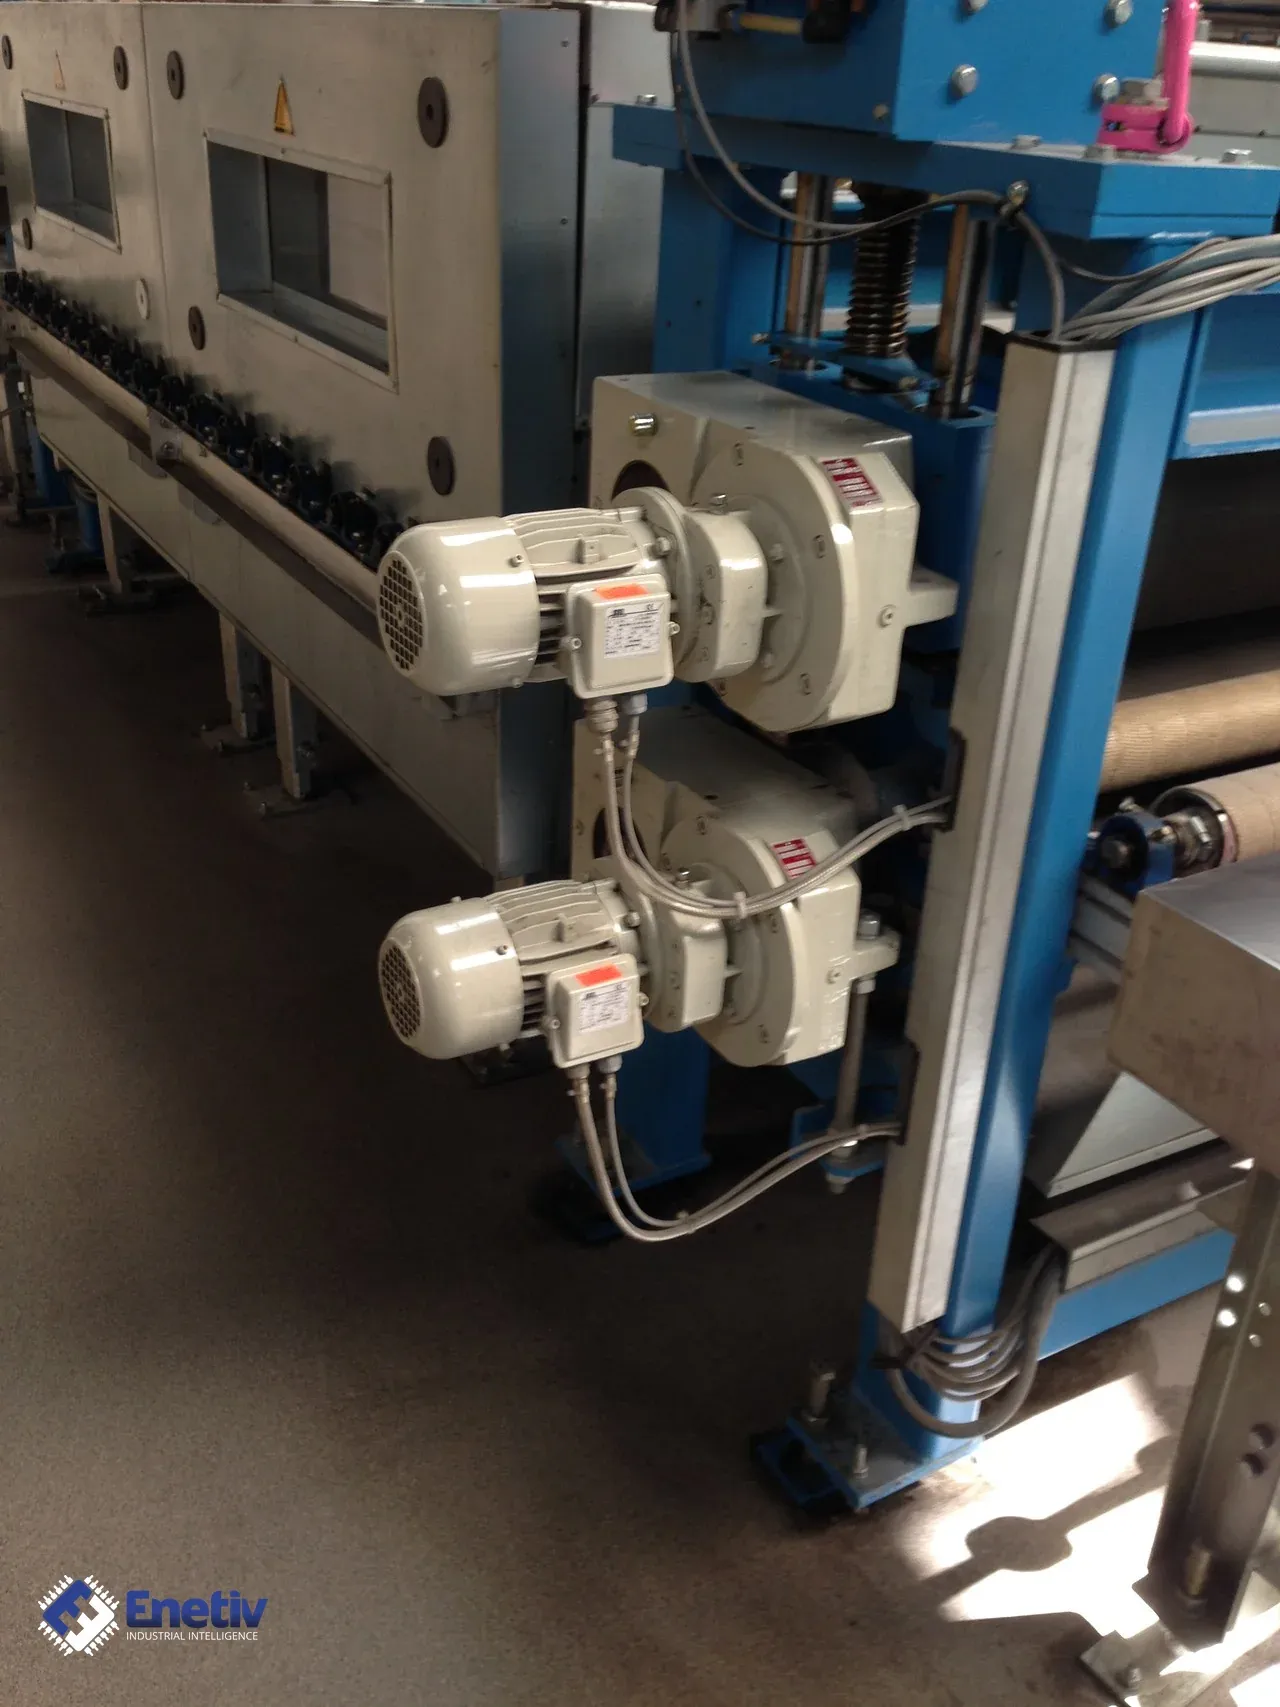
A shaft-mounted gear motor with a hollow shaft is a drive in which the gearbox is slid directly onto the machine shaft and the reaction torque is taken by the torque arm. This solution is used in conveyors, agitators and other machines with a shaft drive, so if you are looking for a replacement, the starting point is the nameplate. One misread letter in the type designation or an overlooked second data set for a different frequency is enough to choose a drive that fits mechanically but behaves differently in operation than its predecessor.
How to read the nameplate
The example is the nameplate of a Siemens Motox gear motor with the type designation KAF108-LA160L4-L150/100GH. It contains both the gearbox data and the motor data.
Type designation and identification numbers
The type designation is the most important field, because its letter code contains the gearbox design, the shaft type and the mounting method. In the example it is KAF108-LA160L4-L150/100GH, and the serial number (factory number) and the type designation are the data given when ordering parts, so both should be copied in full, without shortening. The nameplate also carries an article number, which in the example has the form 2KJ1506-5JR13-2FD1-Z; it is worth recording together with the serial number, because it allows the design to be identified unambiguously.
Letters describing the shaft, arm and connection
In the Motox gearbox type coding, letters have meanings that depend on the position in which they stand. The letter A denotes a hollow shaft, as opposed to a solid shaft, which has no letter in this position. The letter D in the mounting part denotes the torque arm, and the letter Z the housing flange (type C); this is therefore information on whether the reaction torque is taken by the arm or whether the gearbox is to be bolted on by the flange. It should be remembered that in the type code the letters D and Z also occur with a different meaning, as the number of gearbox stages (Z is a two-stage gearbox, D a three-stage one), so the meaning of a letter results from its position in the designation, not from the character alone.
The type of connection between the hollow shaft and the machine shaft is also written with a letter. No letter means a parallel key connection, the letter S means a shrink disc, and the letter T means a hollow shaft with a splined connection. In practice this distinction decides whether the replacement can be slid onto the machine shaft at all, because a parallel key, a shrink disc and a splined connection require a different design of the hollow shaft and a different preparation of the shaft on the machine side. The meaning of the letters in the designation KAF108-LA160L4-L150/100GH should be read solely according to the Motox gearbox key; it must not be transferred to drives from other manufacturers.
Mounting position, gear ratio and oil
On the example nameplate the mounting position is written as (IM) H-01-A. It defines the orientation of the gearbox in space, and the oil quantity and the way the elements are lubricated depend on it, so the replacement must be made for the same mounting position as the gear motor, or at least requires a conscious check of whether it is suitable for a different one. The total gear ratio field is marked with the letter i; in the example the value is i=12.9. The gear ratio of the gearbox together with the motor power determines the speed and torque at the output shaft, so it is a value that must not be changed without recalculating the whole machine.
The nameplate also gives the type of oil. On the example nameplate it is OIL CLP PG VG220, and this designation should be kept when topping up or replacing the fill. Mixing oils with different bases is a risk that is easy to avoid if the oil type is recorded together with the replacement documentation.
Motor data: power, voltage, connection and frequency
The rated motor power in the example is 15 kW and the efficiency class is IE1; the motor power together with the gearbox gear ratio determines the torque at the output shaft, so a replacement with lower power might not cope with the machine load. The voltage and winding connection are written as 400/690 V, D/Y: the motor runs in delta on a 400 V supply or in star at 690 V. For the installation this means that with a 400 V supply the links in the terminal box must be arranged in delta.
The motor nameplate contains two data sets, one for 50 Hz and one for 60 Hz. Each has its own voltage, connection, current and power factor, and on the gearbox side its own output speed and torque and its own service factor. Therefore, when reading, first establish which frequency the machine operates at, and only then read the relevant column of data; values from one frequency must not be mixed with values from the other.
What to watch out for during replacement
The replacement must match the original in several places at once, and each of them can be checked on the nameplate or on the machine itself.
- Gear ratio and output torque: the total gear ratio and the torque at the output shaft determine whether the machine will operate at the same speed and load, so both values must match the original.
- Type of hollow shaft connection: a parallel key, a shrink disc and a splined connection are not interchangeable, and the connection type must be read from the type designation and compared with the machine shaft.
- Torque arm and its position: the arm takes the reaction torque, so the replacement must have it in the same design, and its position relative to the mounting point in the machine structure should be established before dismantling.
- Mounting position: it is linked to the quantity and type of oil, so a replacement for a different position will have a different fill and different lubrication.
- 50 Hz and 60 Hz supply and connection: check which data set corresponds to the installation and whether the D/Y connection matches the mains voltage.
- Terminal box position: it does not follow from the nameplate in the example given, so it has to be established on site, looking at the cable entry and the space around the motor.
In addition to comparing data, an inspection is needed. The hollow shaft and the key should be examined for signs of seizing, fretting corrosion and a worn keyway, because a worn key or bore is carried over to the replacement in the form of play. The condition of the seals and traces of oil around the shaft and the joint surfaces show whether the previous gearbox was losing oil, and if so, the cause has to be eliminated together with the replacement. Connectors and terminals in the box should be checked for burn marks, loose terminations and damaged insulation.
The legibility of the nameplate is worth assessing before dismantling; if it is worn, a second nameplate supplied separately helps, provided it has been kept. Before disconnecting anything, photographs are taken of the nameplate, the terminal box and the way the wires and the torque arm are connected. After start-up, the current drawn by the motor is measured with a meter and compared with the value on the nameplate for the correct frequency, which quickly shows whether the drive is overloaded. The origin of the part, that is the nameplate data, the serial number and the photographs, should be documented together with the replacement record, so that in the future it is possible to reconstruct what was installed.
General replacement steps
The order of work matters, because part of the information disappears with dismantling, so the data and photographs are collected before the power supply is disconnected.
- Note the mounting position and the terminal box position, and take photographs of the nameplate and the connections.
- Disconnect the power supply and secure it against accidental switching on.
- Support the gearbox, release the torque arm and remove the gearbox from the machine shaft.
- Assess the machine shaft: the condition of the surface, the keyway or splined connection, and the seal seats.
- Install the replacement on the shaft and fasten the torque arm, in accordance with the instructions for the given drive.
- Check the oil level and that its type matches the nameplate.
- Connect the wires in the terminal box according to the connection appropriate for the mains voltage and frequency.
- Start without load, checking the direction of rotation, noise and tightness.
- Start with load and measure the current drawn by the motor.
Tightening torque values and other mounting parameters come from the operating instructions of the specific design and should not be taken from memory. After the work is finished, it is worth checking the tightness and the housing temperature once more after a short period of operation, and entering the results in the replacement documentation.
Questions and answers
What data should be prepared before an enquiry or purchase of a replacement?
You need the full type designation from the nameplate, the serial number, the article number, photographs of the nameplate and the hollow shaft, a short description of the application, and the supply data, that is the mains frequency and voltage. Such a set allows the design to be identified unambiguously and reduces the risk of error.
What to do when the nameplate is illegible?
Gearboxes and gear motors may have a second nameplate supplied separately, so first it is worth checking whether it has been kept with the machine documentation. If it is not there, what remains is to document the design on the basis of photographs of the shaft, the torque arm and the terminal box, and to read everything that is still visible on the motor.
Enetiv works in industrial automation from two sides: we supply parts and we repair them. We have new, used and refurbished parts from brands including Allen-Bradley (Rockwell Automation), Siemens, Schneider Electric, Bosch Rexroth and ABB, we diagnose and repair inverters, servo drives, I/O modules and controllers, we service motors and servomotors, with our own warranty on repairs. We also specialize in end-of-life (EOL) parts and service, including older-generation and unusual components. Please contact us at https://enetiv.com/zapytanie.